Automated Cloudflare Argo Tunneling Using Hera

Hera is a new tool for automated secure tunneling allowing you to expose local services to the outside world with little setup. Hera uses Cloudflare Argo for the tunnels themselves and are a great alternative to managing your own reverse proxy.
Benefits of using Argo tunnels include:
- No need to forward any ports from your router or bypass any firewalls
- No manual DNS record modifications
- SSL certificates are managed and issued for you
- DDoS protection with Cloudflare’s CDN
Hera automates tunnel creation by watching for Docker container lifecycles. New tunnels are created when configured containers start up and stops tunnels when containers stop running. This allows immediate access to your services from your domain.
Below is a quick guide on setting it up.
Enable Argo
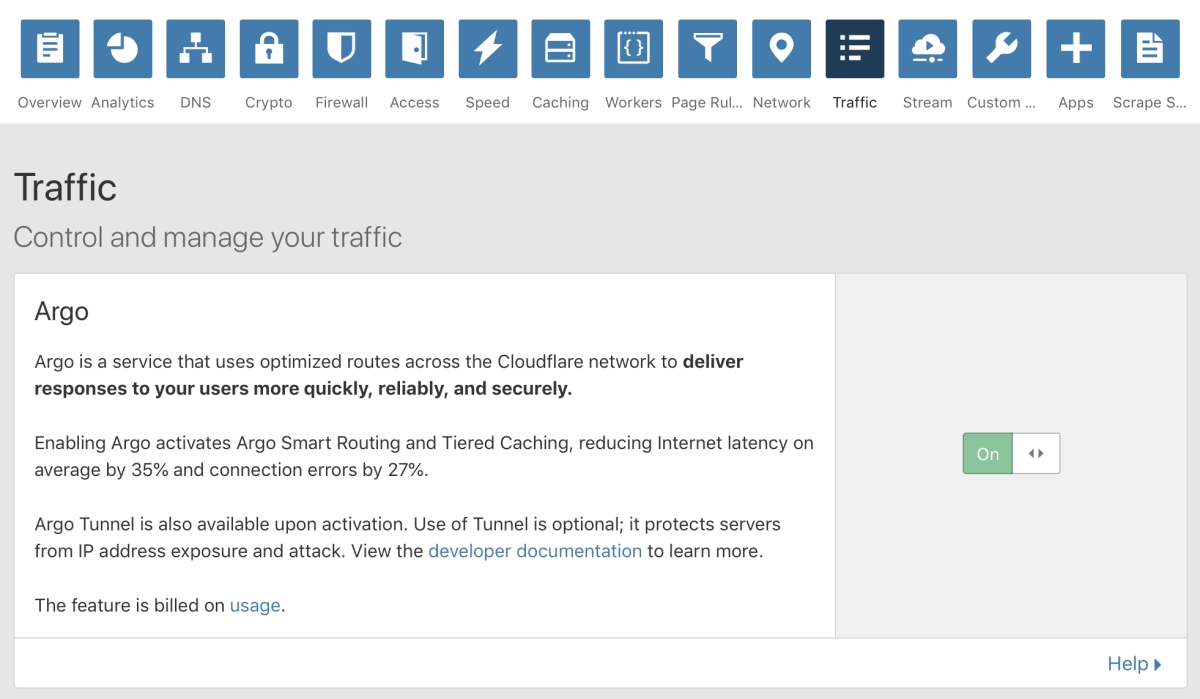
First you will need a domain using Cloudflare nameservers. If you’re not using Cloudflare, it’s just a matter of changing your domain’s nameservers. When your domain is all set up, turn on Argo by going to the Traffic tab in the Cloudflare dashboard.
Obtain A Certificate
Next you will need to download a Cloudflare certificate so Hera can manage tunnels on your behalf.
- Download a new certificate by visiting https://www.cloudflare.com/a/warp
- Rename the certificate to match your domain, ending in
.pem. For example, a certificate formysite.comshould be namedmysite.com.pem.
Save the certificate somewhere that can be mounted as a volume on the Hera container.
Create A Network
Hera needs to be able to connect to your services when creating a tunnel. I recommend creating a dedicated Docker network for all of the services you want tunneled. To create a new network named hera, run:
$ docker network create hera
Start Hera
Now we can start Hera by running the following command:
$ docker run \
  --name=hera \
  --network=hera \
  -v /var/run/docker.sock:/var/run/docker.sock \
  -v /path/to/certs:/certs \
  aschzero/hera:latest
Change /path/to/certs to the directory containing the certificate you downloaded earlier. If all is well, you should see output similar to below.
[cont-init.d] executing container initialization scripts...
[cont-init.d] 01-setup-logs: executing...
[cont-init.d] 01-setup-logs: exited 0.
[cont-init.d] done.
[services.d] starting services
[services.d] done.
[INFO] Hera v0.2.0 has started
[INFO] Found certificate: mysite.com.pem
[INFO] Hera is listening
Configure Your Containers
Hera utilizes labels for configuration as a way to let you be explicit about which containers you want enabled. There are only two labels that need to be defined:
hera.hostname- The hostname is the address you’ll use to request the service outside of your home network. It must be the same as the domain you used to configure your certificate and can either be a root domain or subdomain (e.g.:mysite.comorblog.mysite.com).hera.port- The port your service is running on inside the container.
Note: you can still expose a different port to your host network if desired, but the hera.port label value needs to be the internal port within the container.
Here’s a simple example of an nginx container configured for Hera:
docker run \
  --network=hera \
  --label hera.hostname=mysite.com \
  --label hera.port=80 \
  nginx
After the container starts you should see similar output to the following in the Hera logs:
$ docker logs -f hera

[INFO] Found certificate: mysite.com.pem
[INFO] Hera v0.2.0 has started
[INFO] Hera is listening
[INFO] Registering tunnel mysite.com @ 172.21.0.3:80
[INFO] Logging to /var/log/hera/mysite.com.log
INFO[0000] Applied configuration from /etc/services.d/mysite.com/config.yml
INFO[0000] Proxying tunnel requests to http://172.21.0.3:5601
INFO[0000] Starting metrics server                       addr="127.0.0.1:45603"
INFO[0002] Connected to IAD                              connectionID=0
INFO[0003] Connected to SEA                              connectionID=1
...
That’s it! You’ll now be able to see the default nginx welcome page from your domain.
Exploring Further
I just went through the basics, so check out the Hera README for more information and options. And if you have any questions or suggestions, I’d love to hear them! Hit me up @asch on twitter.


